How to Compress Images Online: Reduce File Size Without Losing Quality
Cut JPG, PNG and WebP file sizes by up to 80% with no visible quality loss. Here is how image compression works and how to do it free in your browser.
Why image size matters more than you think
Open the camera roll on your phone and look at the file size of a single photo. If you shot it on a recent phone, there is a good chance it weighs between 3 and 8 megabytes. Now imagine a blog post with six such photos, a product page with a dozen, or a portfolio gallery with fifty. That is hundreds of megabytes of images, and every one of those bytes has to travel across the internet before your visitor sees anything. On a fast office connection this feels fine. On mobile data, which is how most of the world browses, it is the difference between a page that opens instantly and one that makes people give up.
Google's own research found that 53 percent of mobile visitors leave a page that takes longer than three seconds to load, and images are almost always the heaviest part of a page. Page speed is also a confirmed Google ranking factor, measured through Core Web Vitals, so heavy images do not just annoy visitors, they quietly push you down the search results. Every megabyte you shave off your images means faster loading, happier visitors, and a better shot at ranking.
It is not only about websites. Email providers cap attachments at around 25 MB, messaging apps crush your photos with aggressive compression that leaves them looking smeared, and cloud storage fills up faster than anyone expects. The fix for all of this is the same: shrink the file before you share it or upload it. A free Image Compressor that runs in your browser can cut a photo to a fifth of its size in seconds, with no visible difference, and this guide will show you exactly how to do it well.
How image compression actually works
Image compression comes in two flavors, and the difference matters. Lossy compression, used by JPEG and WebP, works by throwing away detail your eyes are unlikely to notice. Think of it like summarizing a long book: the story survives, but some sentences are gone. The more aggressively you compress, the more the algorithm discards, and at some point the damage becomes visible as blocky patches, fuzzy edges, or banding in smooth gradients like skies.
Lossless compression, used by PNG, takes the opposite approach. It rearranges the data more efficiently without deleting anything, like packing a suitcase better instead of leaving clothes behind. The result is a perfect copy of the original, but the savings are modest, usually 10 to 30 percent. That is why a photo saved as PNG is often several times larger than the same photo saved as JPEG.
The quality slider you see in compression tools controls how aggressive the lossy side gets. A setting of 100 means almost nothing is discarded, 80 is the sweet spot most people use, and 60 or below starts visibly eating detail. One thing to remember: compression is a one-way street. Once detail is thrown away, no tool can bring it back, so always keep your original file and compress a copy.
JPG vs PNG vs WebP: when to use each
JPEG is the workhorse of photography. It uses lossy compression and produces the smallest files for photos, which is why nearly every camera and phone saves in JPEG by default. If your image is a photograph, a realistic scene, or anything with lots of colors and gradients, JPEG is usually the right call. At quality 80, a typical 4 MB phone photo drops to roughly 600 to 800 KB, and side by side with the original, most people cannot tell them apart.
PNG is built for a different job: graphics, logos, screenshots, and anything with sharp text or transparency. It is lossless, so edges stay crisp and transparent backgrounds stay transparent. The trade-off is size. A detailed photo saved as PNG can be 3 to 5 times larger than the same photo as JPEG, which is why you should never use PNG for photographs on a website unless you have a specific reason.
WebP is Google's modern format and, for web use, it is usually the best of both worlds. It compresses photos about 25 to 35 percent smaller than JPEG at the same visual quality, and it supports transparency like PNG. Every modern browser supports it now, including Chrome, Firefox, Safari, and Edge. If your images live on a website, WebP is the format to reach for first.
Here is the simple decision rule. Photo or realistic image for the web: JPEG or WebP. Logo, icon, or graphic that needs transparency: PNG. Screenshot with text you want to stay sharp: PNG or WebP. Photo you plan to edit again later: keep the original untouched and export a compressed copy. Picking the right format before you compress often saves more bytes than any slider setting.
How to compress an image online, step by step
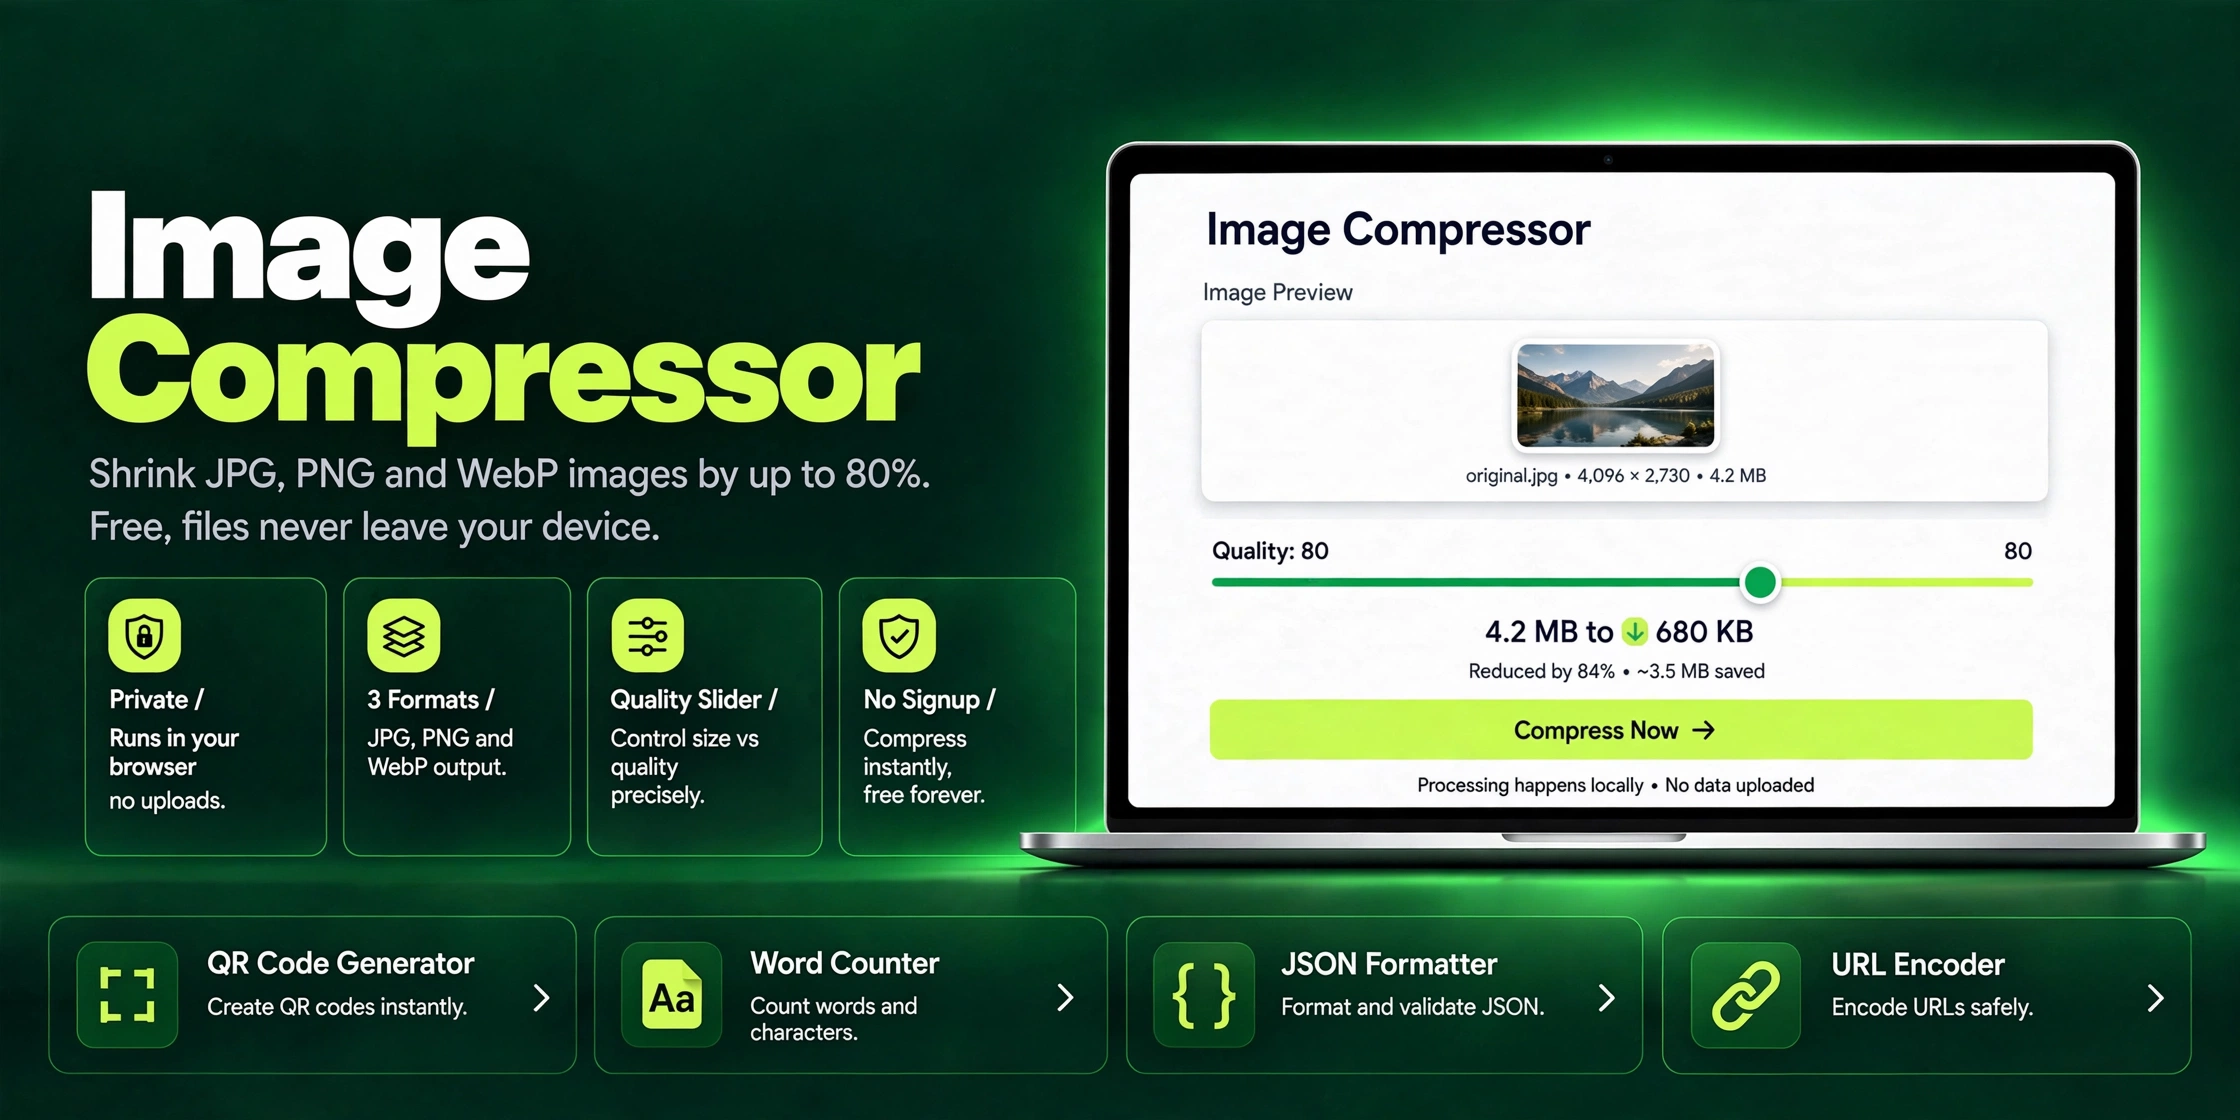
Compressing an image online takes less than a minute. Open the Image Compressor in your browser and drag your image onto the upload area, or click to browse your files. It accepts JPEG, PNG, WebP, GIF, and BMP files. The moment your image loads you will see a preview, the original file size, and a quality slider.
Move the quality slider to choose how much to compress. Start at 80, which is the sweet spot for most photos, then pick your output format: JPEG for photos, PNG when you need lossless or transparency, or WebP for the smallest web-ready files. The tool shows you the compressed size before you download, so you can nudge the slider and watch the trade-off in real time.
Hit download and the optimized image saves straight to your device. There is no signup, no watermark, and no queue. Everything happens locally in your browser, which means your photos are never uploaded to a server. That is worth repeating: the compression runs on your own device, so private photos stay private and the tool even keeps working if your connection drops.
Quality settings explained: what 90, 80 and 60 actually do
The quality number is not a percentage of anything physical, it is simply a dial from light to aggressive. At 90, the algorithm barely touches the image: you get a modest size reduction, typically 40 to 60 percent off the original, with quality that is visually identical. This is the setting to use for images that matter, like portfolio work or product photos where customers zoom in.
At 80, you are in the sweet spot for everyday web use. A 4 MB phone photo typically lands between 500 KB and 900 KB, a reduction of around 80 percent, and the difference from the original is invisible at normal viewing sizes. At 60, the same photo might shrink to 250 to 400 KB, but now you can spot the damage if you look: skies develop banding, fine textures turn mushy, and text edges get fuzzy. Fine for a small thumbnail, risky for a hero image.
The practical method is simple. Start at 80, zoom into a detailed area of the preview, and slowly lower the slider until you notice the first hint of degradation, then step back up a few points. Different images behave differently: a busy landscape hides compression well, while a clean gradient sky or a screenshot with text shows it early. When in doubt, keep it at 80 and let the Image Compressor do the rest.
Why your PNG is still large after compression
This is the most common confusion with image compression, so let us clear it up. PNG is a lossless format, which means the quality slider has nothing to squeeze. When you choose PNG as the output, the tool can only repack the data, not discard any of it, so a 3 MB PNG photo might come out at 2.7 MB and you will wonder what went wrong. Nothing went wrong: that is simply how lossless works, and no honest tool can do better.
If your PNG has no transparency and is really a photo or screenshot, the fix is to change the output format instead of pushing the slider. Export it as JPEG and that 3 MB PNG often drops below 500 KB. Export it as WebP and it can go even smaller, sometimes under 300 KB, while looking the same on screen. The format choice matters far more than the quality number for PNG files.
For a dedicated conversion, the PNG to JPG tool handles exactly this job: drop in a PNG, get a much smaller JPG back. Keep PNG only for the cases it was designed for, logos, icons, graphics with transparency, and sharp screenshots, and convert everything else to JPEG or WebP before it ever reaches your website or your email.
Image compression for SEO: speed up your site
Google measures page experience through Core Web Vitals, and the most image-sensitive of these is Largest Contentful Paint, which tracks how fast the main content of your page becomes visible. On most pages, that main content is a hero image. An unoptimized 3 MB banner can single-handedly push your LCP past Google's 2.5 second threshold into the red, while the same image compressed to 400 KB loads in a fraction of a second.
The workflow that works: compress every image before it goes on your site, serve WebP where you can, and make sure the pixel dimensions match the display size. A 4000 pixel wide photo displayed at 800 pixels is wasted weight even after compression, so resize first with the Image Resizer, then compress. Add lazy loading for below-the-fold images and you have covered the big wins.
If you are not sure how your site is doing, run it through the Free SEO Audit tool. It checks your page speed and flags the exact images dragging your score down, so you know which files to compress first instead of guessing. Fix the heaviest images, re-run the audit, and watch the numbers move.
Common mistakes people make
The biggest mistake is compressing an already compressed image over and over. Each round of lossy compression throws away more detail, and the damage compounds. A photo saved at quality 60, then compressed again at 60, looks noticeably worse than a photo compressed once at 60 from the original. Always go back to the original file when you need a new compressed version, and keep masters archived.
The second mistake is the wrong format for the job. Saving a photograph as PNG because it sounds like higher quality just produces an enormous file for no visible benefit. Saving a logo with sharp text as JPEG produces ugly smudges around every letter. Match the format to the content: JPEG or WebP for photos, PNG for graphics and transparency, and your files will be small and clean.
The third mistake is expecting an exact file size. This tool uses a quality slider, not a target like 50 KB, because honest compression cannot promise an exact number without destroying quality unpredictably. If you need a file under a certain size for an upload form, lower the slider gradually, try WebP output, and reduce the dimensions first. Chasing an exact kilobyte number usually costs more quality than it is worth.
The bottom line: compress everything, keep the originals
Image compression is one of those rare optimizations with no real downside. It costs nothing, takes seconds, and the payoff shows up everywhere: pages that load faster, visitors who stay longer, better search rankings, emails that actually send, and storage that lasts longer. The only rule is to compress a copy and keep your original safe.
Start with your heaviest images, the hero banners and galleries, because those deliver the biggest wins first. Use quality 80 as your default, WebP for the web, and the right format for the job. Then make it a habit: every image gets compressed before it goes online.
Try it now with the free Image Compressor: no signup, no uploads, just smaller images in seconds.
Frequently Asked Questions
Is the Image Compressor really free?
Yes, completely. There is no signup, no account, no watermark, and no limit games. Open the Image Compressor, compress your image, and download it. The tool costs nothing to run because your files never leave your device.
Are my images uploaded to a server?
No. Everything runs locally in your browser using your own device's processing power. Your photos are never sent to a server, which means private images stay private and the tool keeps working even on a shaky connection.
Which formats can I compress?
You can upload JPEG, PNG, WebP, GIF, and BMP images. For output you can choose JPEG, PNG, or WebP. If you specifically need to turn PNG files into smaller JPGs, the PNG to JPG tool is built for that.
Will compressing reduce the visible quality of my image?
It depends on the setting. At quality 80 to 90, the difference is invisible for normal viewing, and that covers most web use. Below 60 you may start noticing softer textures or banding in smooth areas. The preview lets you check before downloading, so you always stay in control.
Can I compress an image to exactly 50KB?
No, and you should be skeptical of any tool that promises an exact size. This compressor uses a quality slider rather than a size target, because forcing an exact kilobyte number means the tool has to guess how much quality to destroy. To get close to a size limit, lower the slider step by step, choose WebP output, and shrink the dimensions first with the Image Resizer.
Does compression change the image dimensions?
No. Compression only reduces the file size, not the pixel dimensions. A 1920 by 1080 image stays 1920 by 1080. If you also need smaller dimensions, use the Image Resizer first, then compress the resized image for the smallest possible file.
Why is my PNG still large after compression?
PNG is a lossless format, so the quality slider does not apply to it. The tool can only repack a PNG, not shrink it the way it shrinks JPEGs. If your PNG does not need transparency, convert it to JPEG or WebP and watch the size drop dramatically. The PNG to JPG tool does exactly this in one step.
Compress your first image in seconds
Drop in a JPG, PNG or WebP, move the quality slider, and download a file up to 80% smaller. Free forever, no signup, your images never leave your device.
Open Image Compressor